Categories are the tree shoppers browse, such as Games → Strategy. A category can have sub-categories, an image and its own set of filters. A product can sit in several categories. For hand-picked groups of products from any category, use Collections.
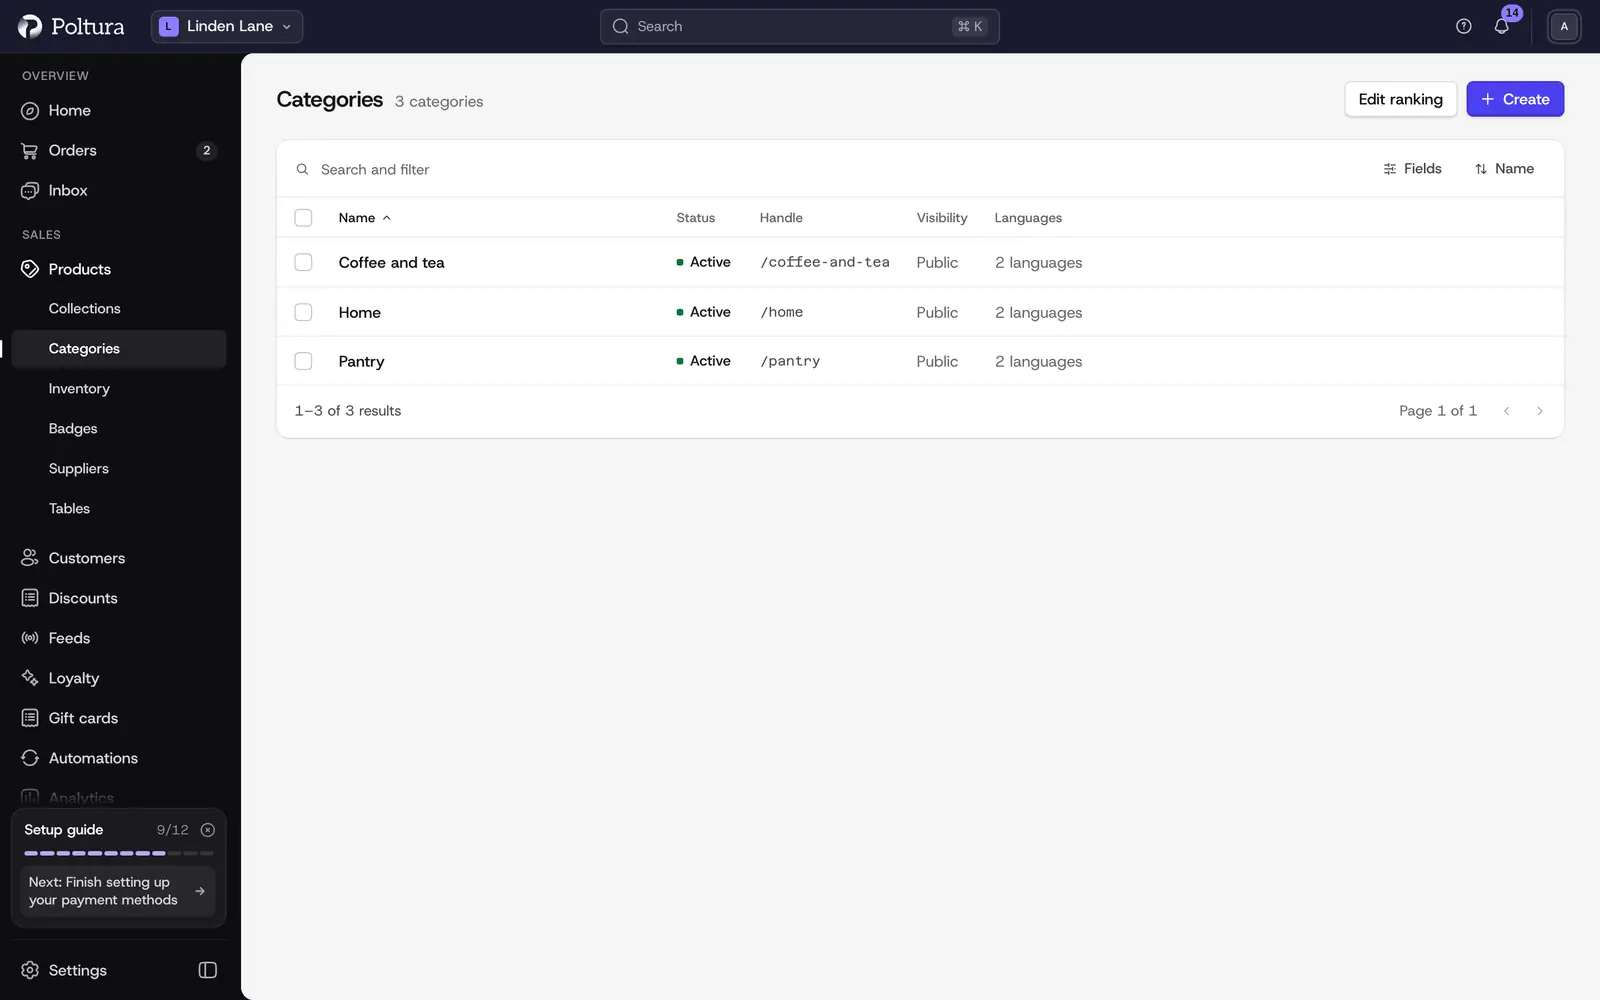
Create a category
Open Products in the sidebar and select Categories.
Select Create.
In Create Category, enter the Title.
Optionally enter a Handle and a Description. The handle is used in the address of the category in your store and is generated from the title if you leave it empty.
Choose the Status: Active or Inactive.
Choose the Visibility: Public or Internal.
Select Save. The page of the new category opens.
A new category is created at the top level. To put it under another category, use Edit ranking as described next.
Arrange and nest categories
The order and the nesting of the whole tree are edited on one screen.
Open Categories and select Edit ranking.
Drag a category up or down to change its position.
Drag it to the right, under another category, to make it a sub-category. Drag it back to the left to move it one level up.
Instead of dragging you can use the buttons on each row: Move up, Move down, Indent and Outdent. With the keyboard, the arrow keys do the same.
Select Save. The list of categories shows the new tree.
Nothing changes in your store until you save. Cancel leaves the tree as it was.
Add products to a category
Open the category and select Add products.
Use Search to find the products and tick the ones to add. Products already in the category are shown ticked and cannot be changed here.
Select Save. The products appear in the Products section.
To take a product out, open the menu at the end of its row in the Products section and select Remove. You can also choose categories on the product itself, under Product organization. See Edit a product.
Edit a category
Open the category and select Edit.
In Edit Category, change the Title, Description, Handle, Status or Visibility.
Select Save.
Add category images
Open the category and find Media.
Under Upload images, choose the files and select Upload.
Select Set as thumbnail on the image that should represent the category.
Choose the filters of a category
Each category can offer the filters that make sense for its products. The filters come from your attributes.
Open the category and find Filters.
Under Assign filterable attributes, choose the attributes that should be available as filters for this category.
Select Save filters.
An attribute assigned to a category as a filter also shows up on the products of that category, ready to be filled in.
Delete a category
Open the category and select Delete.
Read the warning under Are you sure? and select Delete.
Good to know
- The category page lists its sub-categories under Children and shows the full Path of the category in the tree.
- Only a category that is Active and Public is meant for shoppers. Use Inactive or Internal for categories you are still preparing or that you only use to organize products internally.
- The Edit ranking screen handles up to 1,000 categories. Above that it shows Too many categories.
- When your store has several languages, a category can be translated with the language switcher on the category page. See Translations.
- How categories appear in the navigation of your store depends on your theme and menus. See Menus.
- There is no picker for category icons.