The product page collects everything about one product. The main column holds Details, Media, Options, Personalization and Versions. The side column holds Online store, Delivery group, Product organization and Attributes, followed by panels such as Readiness, Warranty policy and Customer Reviews. Each section is edited in its own way, described below.
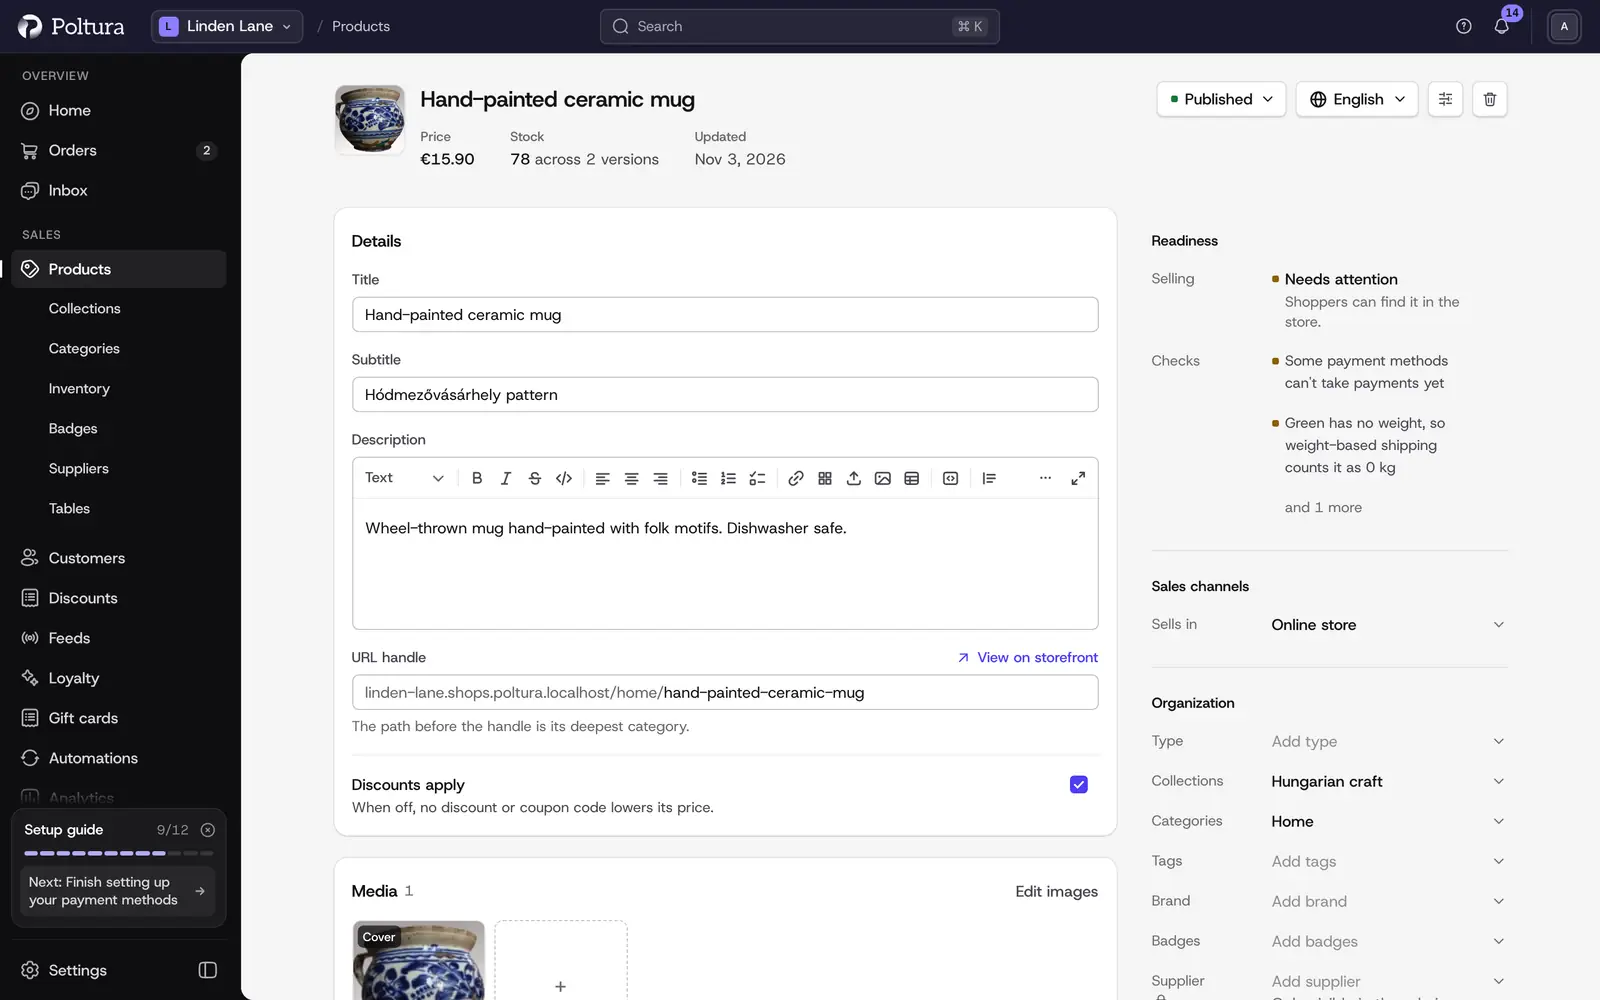
Change the status
The status sits in the header, next to the title.
Open the product.
Choose Draft, Proposed, Published or Rejected in the status list.
Select Update. The badge beside the title shows the new status.
Only Published products appear in your store.
Edit title, description and other details
Open the product. In the Details card on the product page, change Title, Subtitle or Description right where they are.
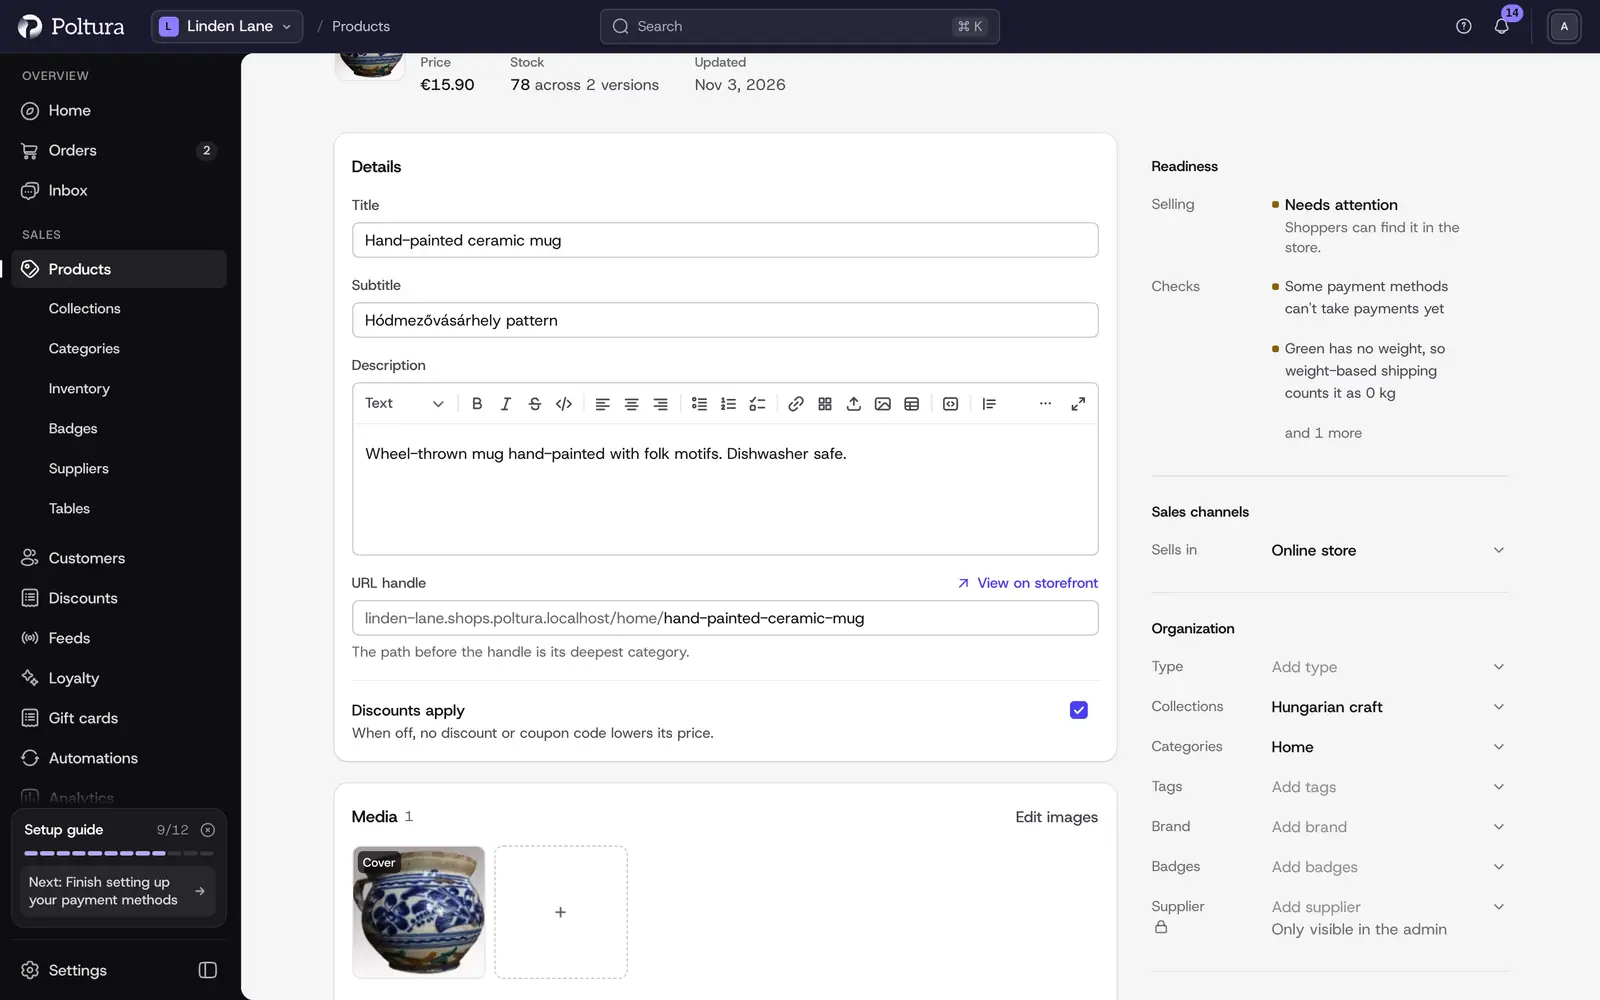
If needed, change the URL handle. The field shows the product's whole address in your store: your store's address, the path of its deepest category, then the handle you edit.
Fill in Material if it applies, and use Discounts apply to decide whether discounts may apply to this product.
Select Save in the bar that appears once you change something. The product page shows the new text.
Organize the product
Product organization decides where shoppers find the product and which rules apply to it. You edit it directly on the product page.
Open the product and find Product organization in the side column.
Under Type, choose one type, for example Book.
Under Collections, Categories and Tags, choose as many as you need.
To create a new type, collection, category or tag, type its name into Search or create… and choose the create option.
Select Save under the fields.
The same section shows a preview of how the product can look in search results, built from the title, handle and description. There are no separate SEO title and description fields.
Set attributes
Attributes are the structured facts of a product, such as brand, material or screen size. They also include the built-in measurements Height, Width, Length, Weight, MID code, HS code and Country of origin.
Open the product and find Attributes in the side column.
Change a value in its row. For an attribute that is not listed yet, select its Add chip under Add an attribute.
The change is saved on its own: the row shows Saving… and then Saved. There is no save button.
Manage attributes opens the list where you create attributes and their values. See Attributes.
Choose where the product is sold
Open the product and find Online store in the side column.
Open the section menu and select Edit.
In Edit sales channels, tick the channels under Sales channels.
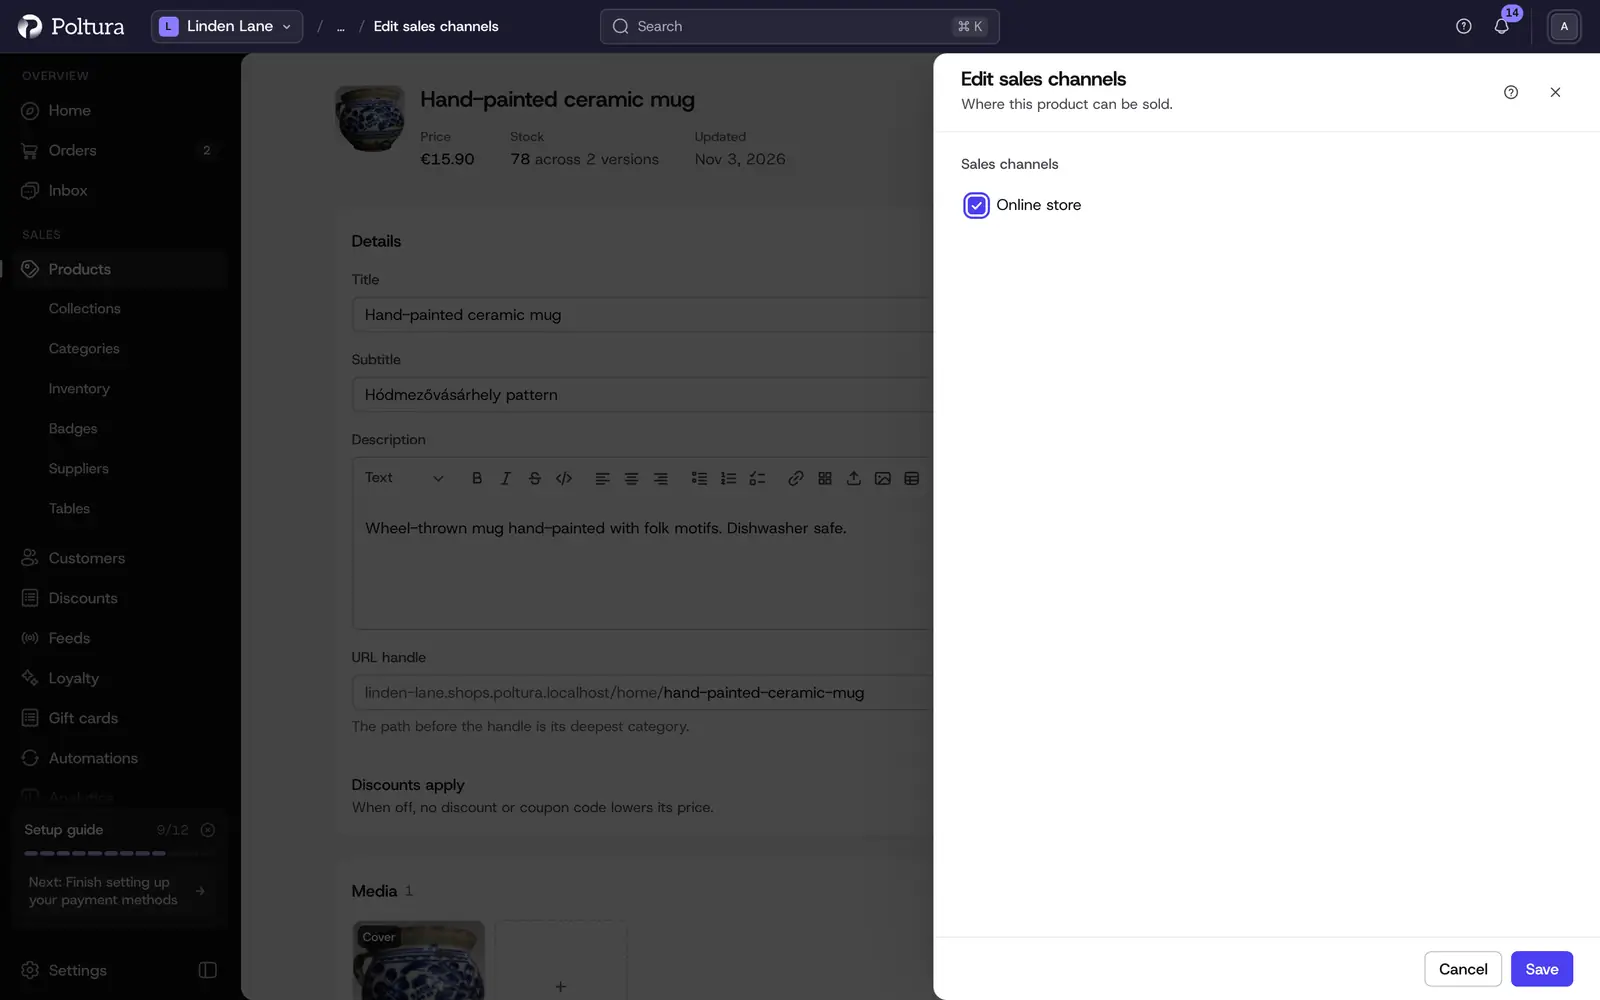
Select Save. The section lists the channels under Available in.
Most stores have one sales channel, the online store. A product in no sales channel cannot be bought. Managing the channels themselves needs developer mode, see Sales channels.
Change the delivery group
The delivery group decides which delivery options apply to the product at checkout.
Open the product and find Delivery group in the side column.
Open the section menu and select Edit.
In Edit shipping profile, choose a group under Shipping profile.
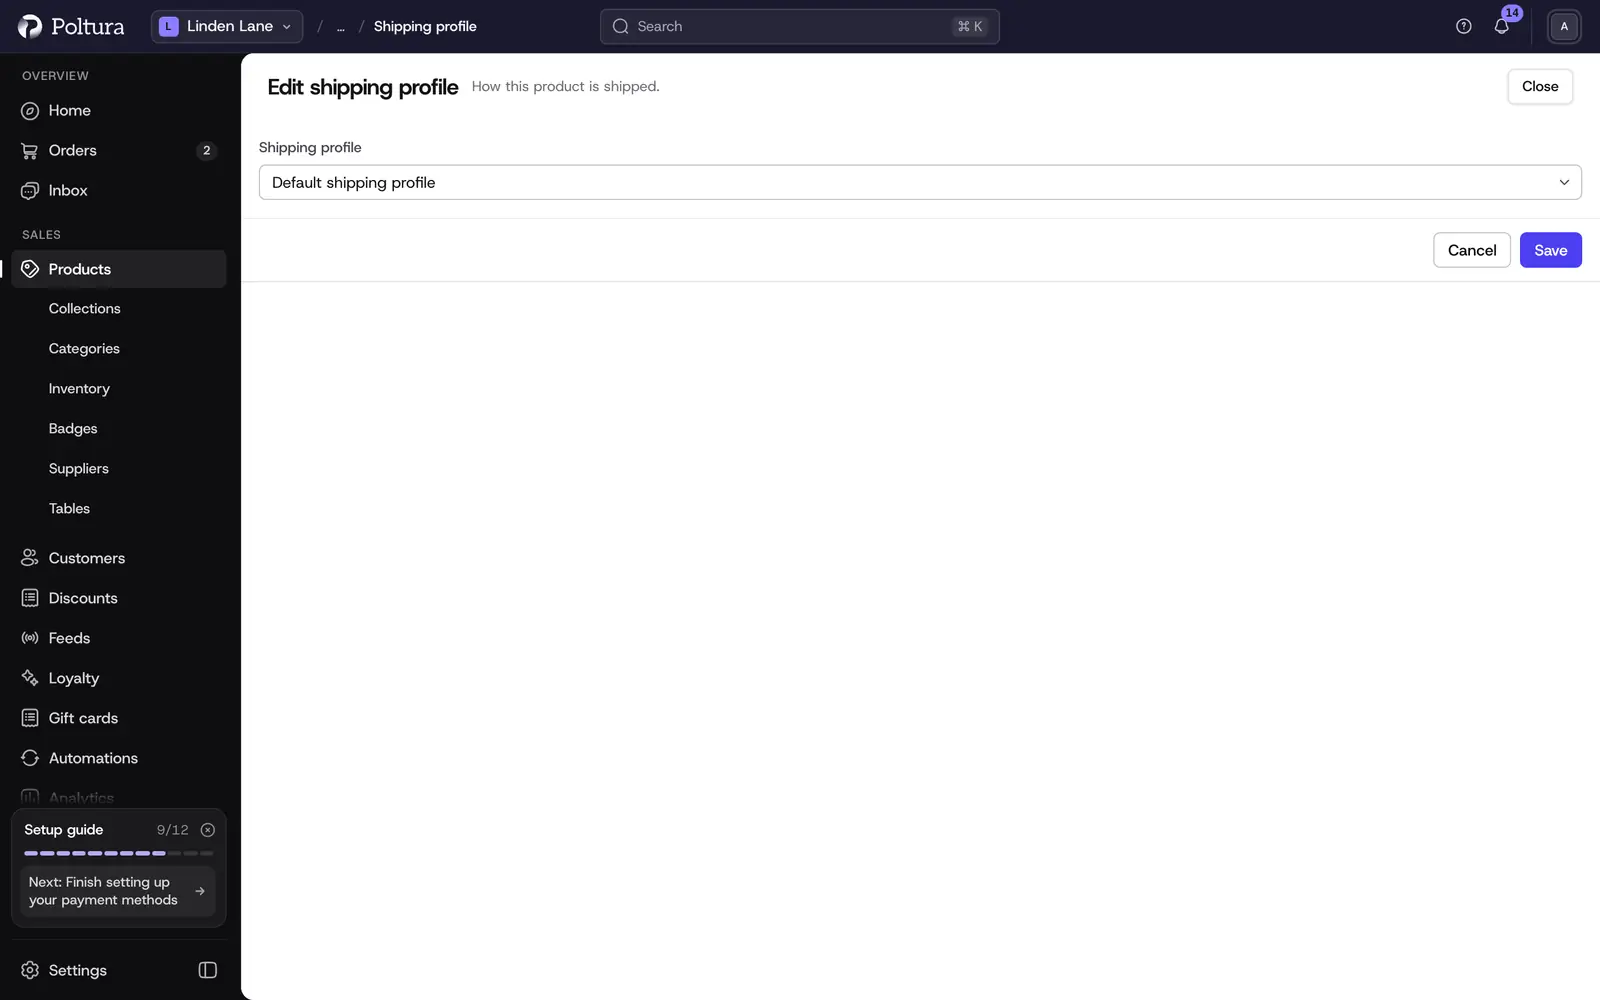
Select Save. The section shows the group's name.
Delivery options and rates are set under Delivery.
Edit custom data
Custom data is a list of key and value pairs for integrations. The section appears only when developer mode is switched on.
Open the product and find Custom data.
Open the section menu and select Edit.
In Edit custom data, add, change or remove rows. A row with no key is ignored.
Select Save.
Add personalization fields
Personalization fields let a shopper type something before adding the product to the cart, such as an engraving.
Open the product, find Personalization, open the section menu and select Edit.
Select Add field and enter a Label.
Choose the Type: Text or Multiline text.
Optionally set a Maximum length and tick Required.
Select Save.
A product can have up to 10 fields. A label can be up to 120 characters and the maximum length can be between 1 and 500 characters. The text the shopper enters appears in the cart and on the order.
Delete a product
Open the product and select Delete in the header.
In Delete product, type the product's title to confirm.
Select Delete. You return to the product list and the product is gone.
Good to know
- Customize layout in the header lets you reorder and hide the sections of the product page. Save for everyone makes your arrangement the default for the whole team.
- When your store has more than one language, a language switcher appears in the header. Title, subtitle, description, version titles and option values can be translated. Everything else is marked Same in every language. See Translations.
- The side column also carries panels that depend on what your store uses: Highlighted features, Storefront visibility, Identifiers, Selling details, Product safety and Digital delivery.
- Related products lets you pick the products shown under "You may also like" and the add-on rows with a one-click add to cart. See Related and add-on products.
- Storefront visibility is in Beta. A product set to Direct-link only is left out of theme product grids, but can still appear in the main product listing and in search.
- A product that is locked because the store is over its plan limit shows a restricted badge and cannot be edited until there is room. See Plan and billing.