Forms let customers send you something from your store: a message, a question about a product, a quote request or a newsletter signup. You build the form, publish it and place it on a page. Every submission is stored under the form's Responses.
Find your way around the list
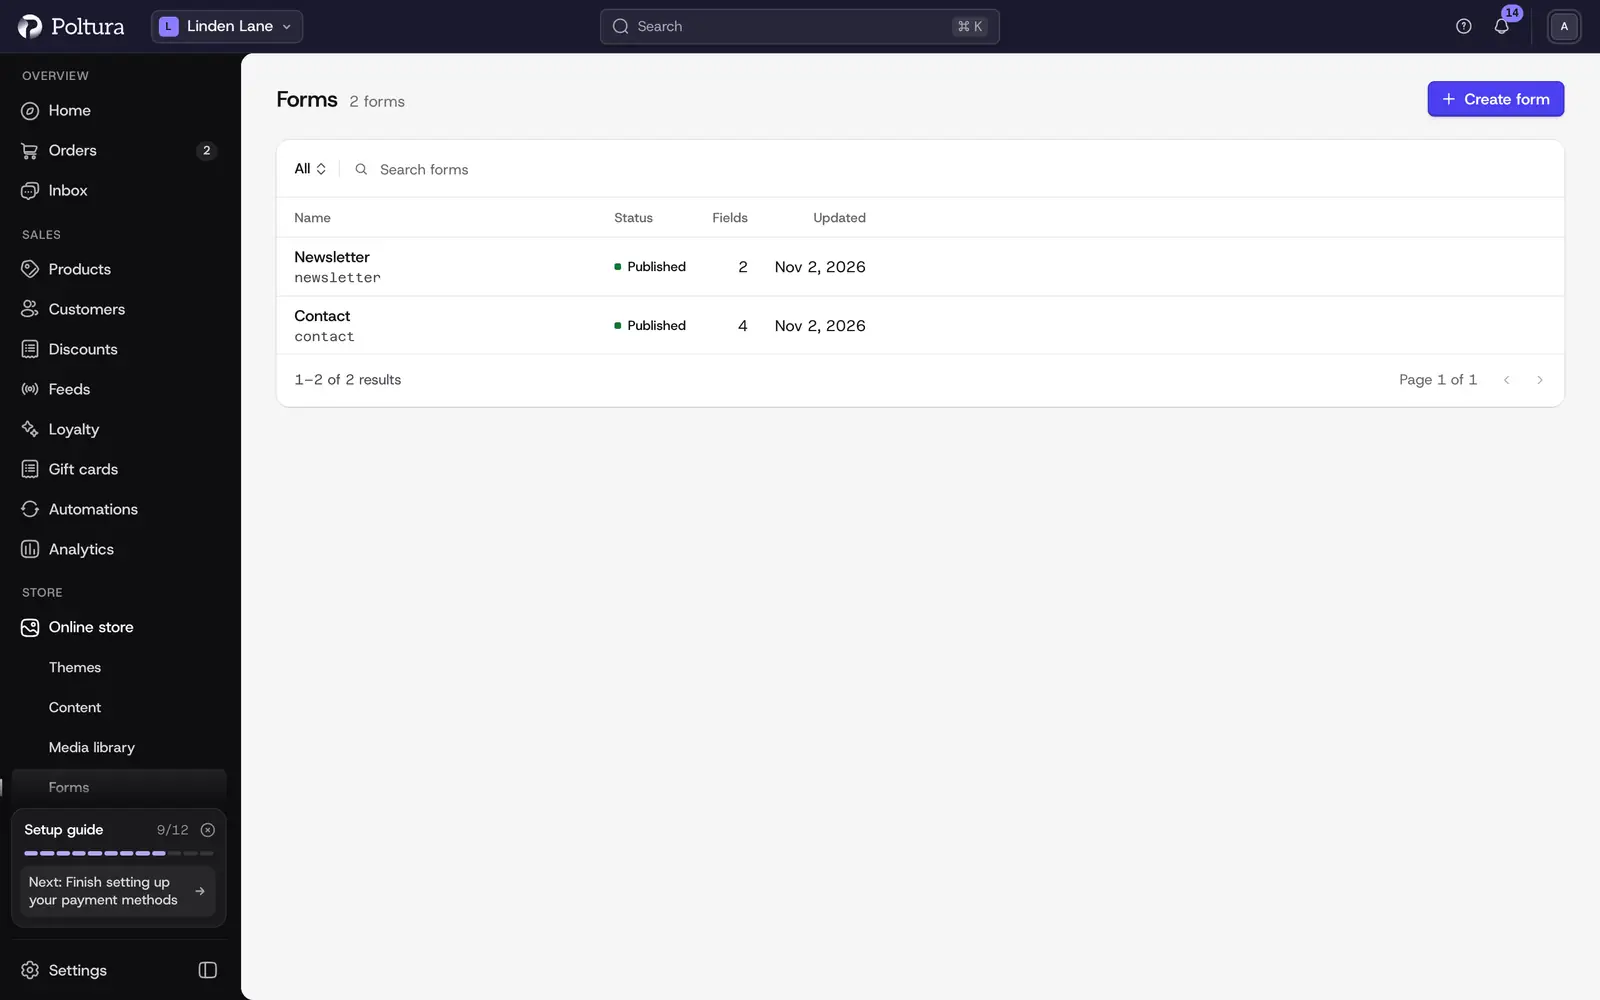
Open Online store and choose Forms. The list shows each form's Name, Status, number of Fields and when it was Updated. The tabs All, Draft, Published and Archived filter by status.
- Draft: not on your store yet.
- Published: the store serves the published version.
- Archived: the store no longer serves the form.
Create a form
Open Online store and choose Forms.
Choose Create form.
Pick a starting point and choose Use this template:
- Contact: a message to your team. This is not a marketing signup.
- Product enquiry: questions about a product.
- Quote request: quote details and optional files.
- Newsletter: email signup with an explicit consent checkbox.
The editor opens with the template's fields. Change them as described below.
Choose Save draft, then Publish.
A notice confirms the form is published. Now place it on your store, see Put a form on your store.
Edit a form
Click a form's name to open the editor. It has four tabs: Fields, Appearance, After submission and Responses. The Preview beside the editor shows the form as customers will see it.
Fields
On the Fields tab, choose Add field, or select an existing field.
Choose the Type: Text, Email, Phone, Long text, Dropdown, Radio, Checkbox, Multi-select, Number, Date or File.
Fill in the Label, and if you like a Placeholder and Help text.
Switch Required on if the customer must fill it in.
For choice fields, add the Choices. For a file field, set the Accepted types, Max files and Max size (bytes).
Drag the fields to reorder them.
Two options stay folded away until you need them:
- Show only when shows a field only if another field Equals, Does not equal or Contains a value. Otherwise the field is Always visible.
- Split into multiple pages turns the form into Steps. Give each step a title and choose its fields. A field can belong to one step at most.
Appearance
Set the Internal name you see in the admin, and the Title and Description customers see above the form. Every form asks for a CAPTCHA check before sending. The editor has no switch for it.
After submission
- Success title and Success message: what the customer sees after sending.
- Redirect URL: send the customer to another page instead. Leave it blank to show the success message.
- Send to Inbox: turns the submission into a conversation in your Inbox. This never subscribes anyone to marketing.
- Email recipients: addresses that are notified, separated by commas. This works independently of the Inbox.
- Marketing consent field: choose a checkbox field of the form. Only a ticked box records marketing consent.
Translate a form
Choose a language at the top of the editor. In your default language you edit the original wording. In any other language you edit the translation in the same fields, with the original shown as a hint. Auto-translate fills the missing translations without replacing what you wrote. Wherever a translation is empty, shoppers see the original text.
Save, publish and archive
- Save draft keeps your changes without touching the store.
- Publish makes the current draft the version the store serves. The store keeps that version until you publish again.
- Archive takes the form off the store. Save it as a draft again to bring it back.
Put a form on your store
A published form can appear in three ways, all set in the customizer:
- As a section. Choose Add section and pick Form, then choose the form. It sits in the page like any other section.
- From a button. Select a button, set its action to Open form, choose the form, and pick Popup or Right side panel and a width. Preview form tries it without saving a response.
- On the contact page. The contact page of your store uses the published contact form.
Only published forms can be chosen. Forms take the colors and fonts of your theme.
Read responses
Open Online store, choose Forms and click the form's name.
Open the Responses tab.
Use the tabs All, New, Read, Spam and Archived, or search.
Click a response to see the Answers, the language it was sent in and the Delivery state.
To keep the list tidy, open the menu at the end of a response row and choose its new status: New, Read, Spam or Archived. The same status field is in the opened response.
- Delivery shows whether the response reached the Inbox or the email recipients: Queued, Sending, Delivered or Failed. Retry failed delivery sends it again.
- Files a customer uploaded can be downloaded from the response.
- Export CSV downloads the responses as a spreadsheet file.
Good to know
- Every submission is stored before it is delivered, so nothing is lost if a delivery fails.
- The CAPTCHA check, spam traps and rate limits are active on every form.
- Sending to the Inbox needs a plan that includes the Inbox.
- The footer newsletter signup is a theme setting, not a form. See Theme settings and Newsletter.
- A form's name must be unique.
If something goes wrong
- "Someone else saved this form. Reload, then save again." Another person changed the form while you were editing. Reload the page and repeat your change.
- "Archived forms cannot be published until they are restored by saving a draft." Choose Save draft first, then Publish.
- The form is not offered in the customizer. Only published forms appear there. Publish the form.
- A response shows Failed under Delivery. The response itself is safe. Check the recipients on the After submission tab, then choose Retry failed delivery.