A short, full-screen wizard creates your store. It asks how you are starting, where and what you sell and how you ship, then builds the store and a setup guide from your answers. No plan and no card are needed: a new store starts private and free.
Before you start
- You need a Poltura account. The wizard opens by itself the first time you sign in without a store.
- To add another store later, open the store menu in the top bar and choose Create a store.
Say how you are starting out
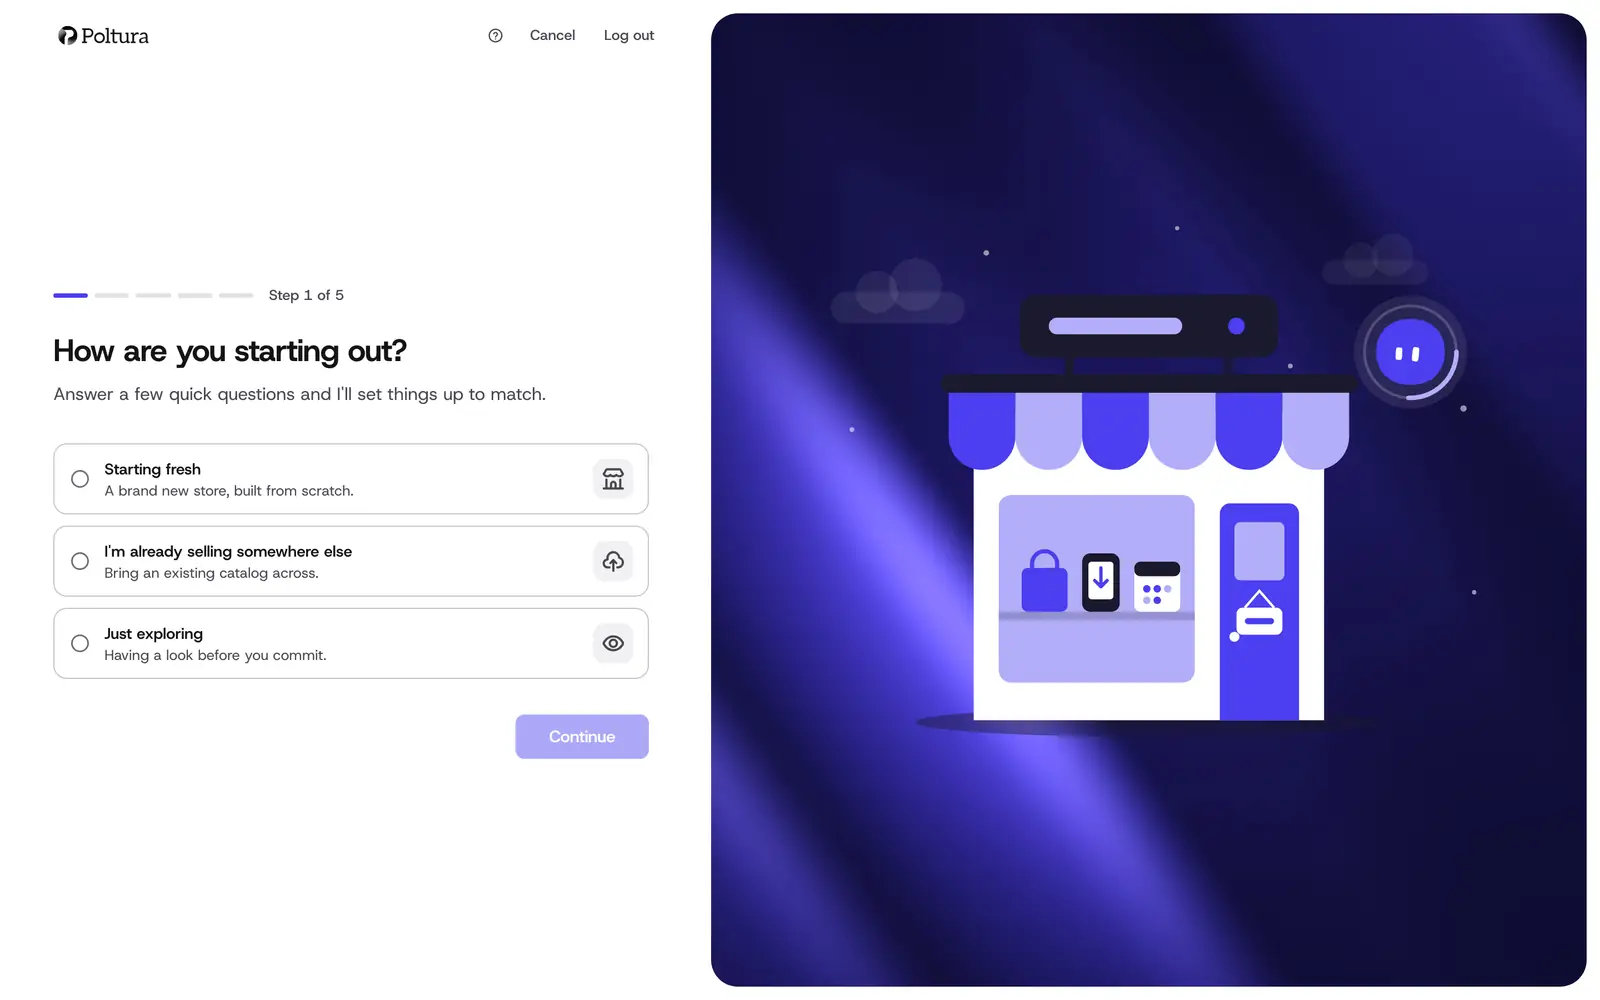
The first screen asks How are you starting out? Pick one:
- Starting fresh: a brand new store.
- I'm already selling somewhere else: you bring an existing catalog across. The wizard then asks where you sell today.
- Just exploring: you are having a look first.
Choosing an option moves you to the next step. The arrow in the top left corner takes you back one step. The line above each question shows how far you are, for example Step 2 of 5.
Say where you sell today
You see this step only if you chose I'm already selling somewhere else. Pick Shopify, Shoprenter, UNAS, WooCommerce or Somewhere else. Your setup guide then starts with moving your store across. See Import for how each platform connects.
Choose the countries you sell to
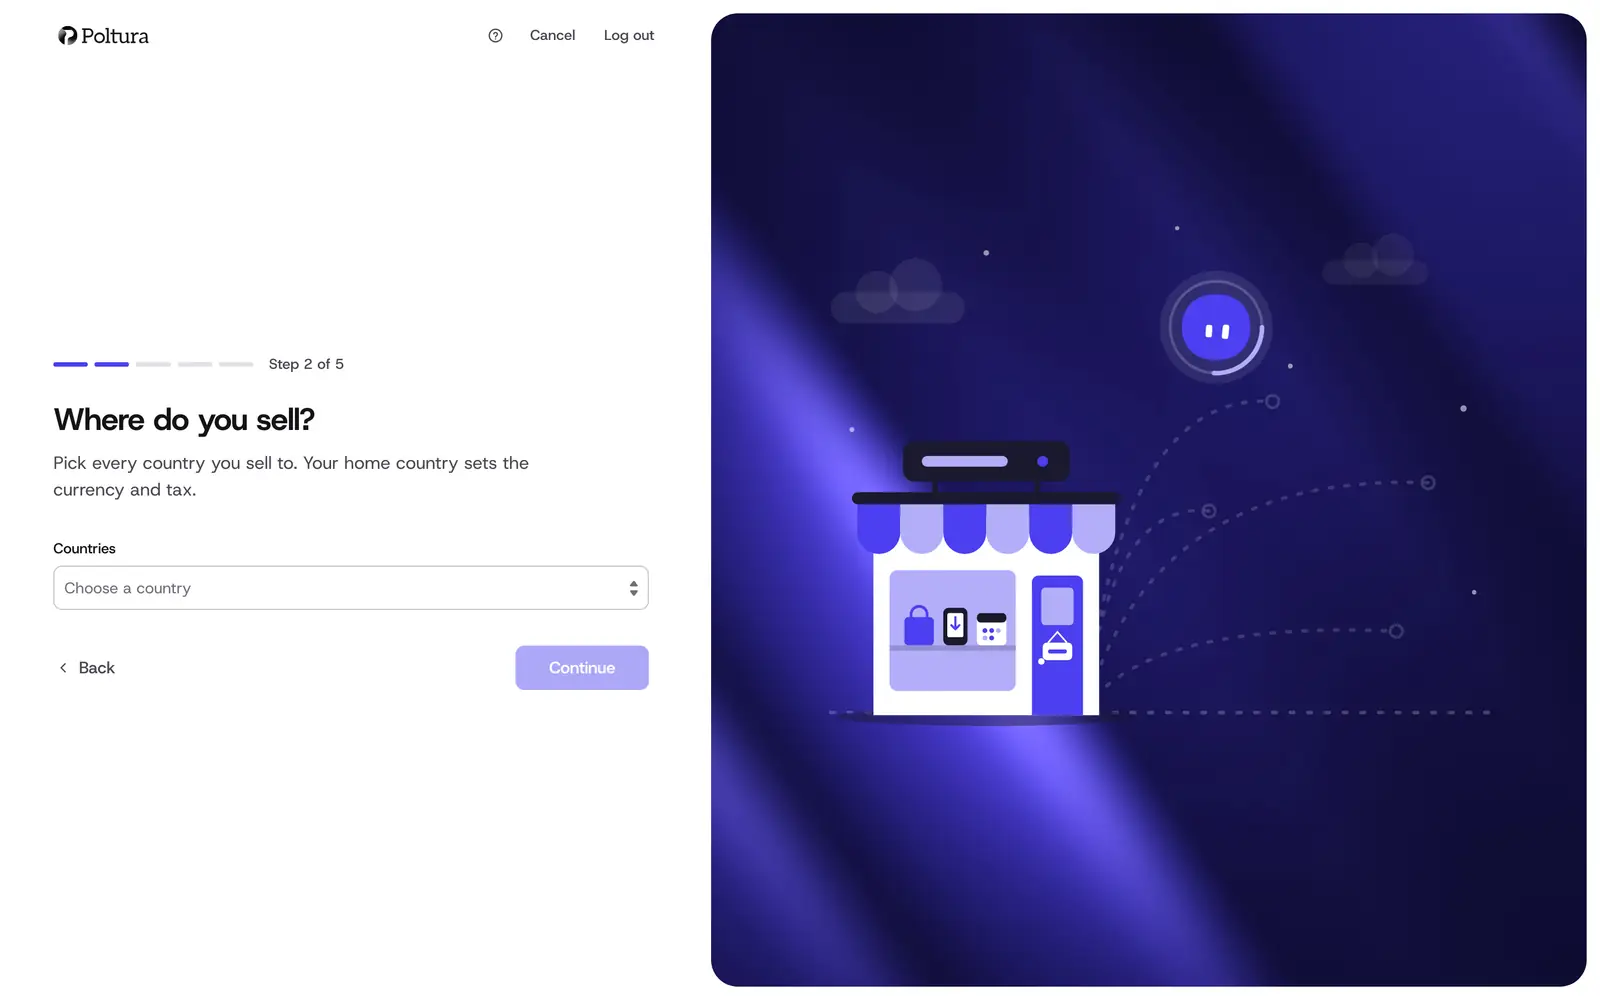
Under Countries, select every country you sell to. Use Add another country if one is missing from the suggestions.
Under Home country, choose the country your business sells from. It sets your store currency and its standard VAT rate. Customers do not see this choice.
Read the summary under the fields. It shows the currency and VAT rate that will be used, and popular delivery and payment apps for that country.
Select Continue.
Your countries become your first markets: your home country and every country that pays in your store currency share one market at your main address, and each other currency gets a market of its own there. You can change the currency, the tax rates and the countries later under Markets and Taxes.
Say what you sell
Under What do you sell?, pick the closest match: Physical products, Digital products or Physical and digital. The answer shapes your setup guide. If you choose digital products, the digital products feature is prepared for you. See Digital products.
Say how you ship
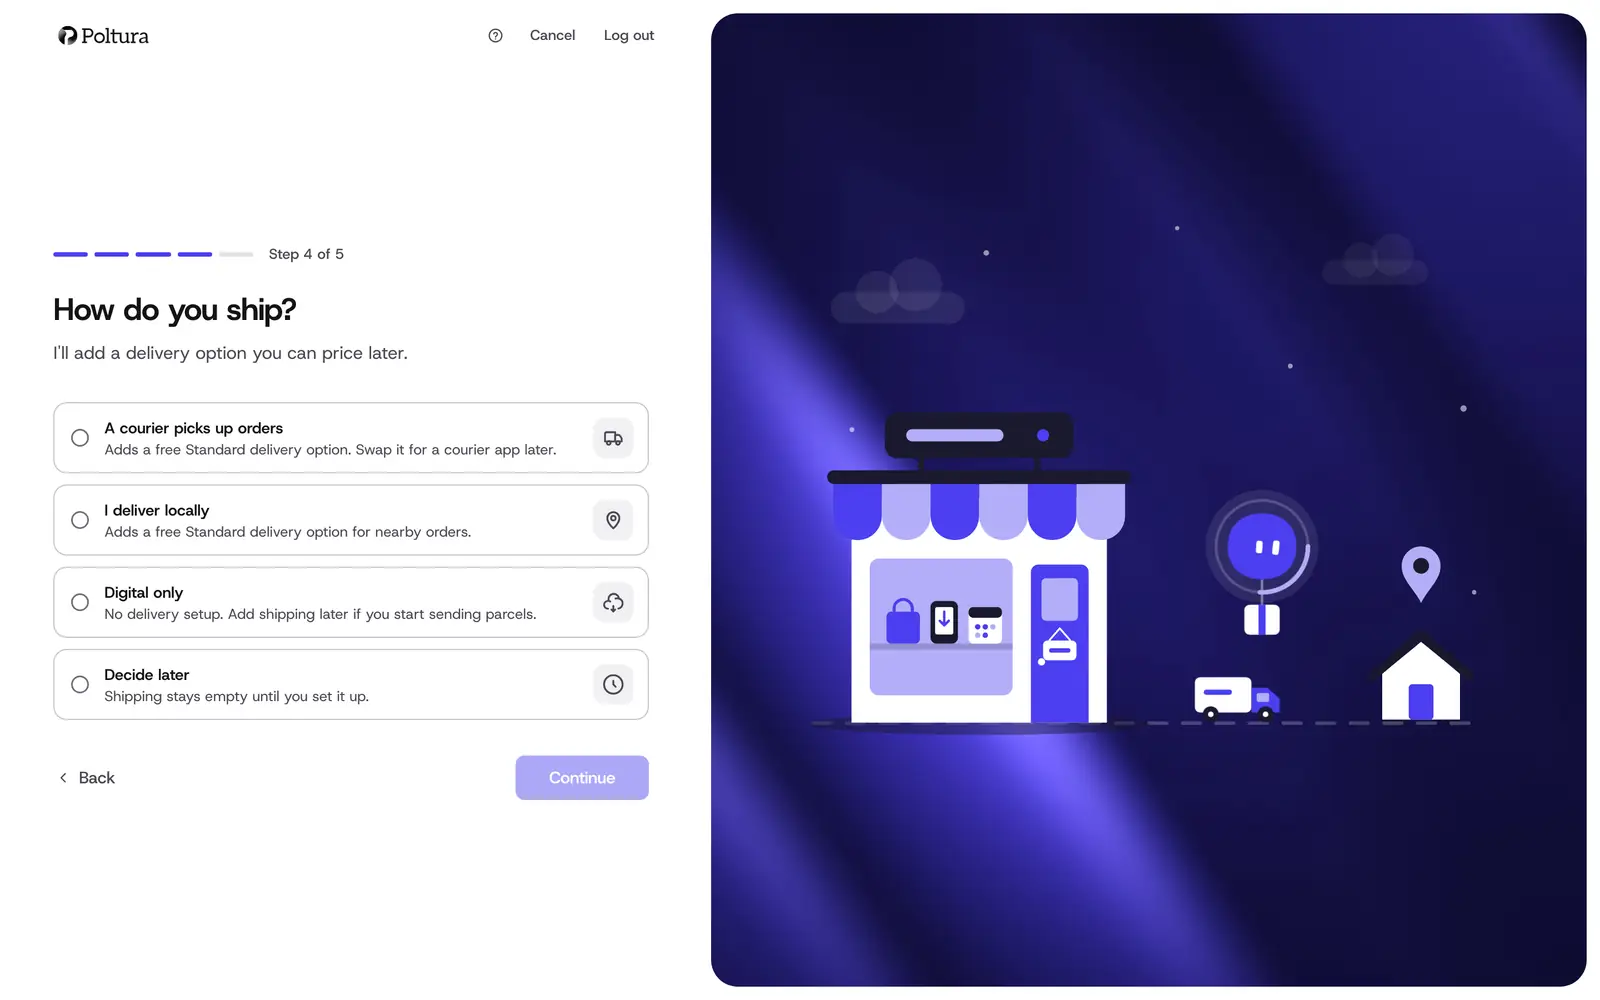
Under How do you ship?, pick one:
- A courier picks up orders or I deliver locally: adds a free delivery option called Standard, so checkout has something to offer. You set its price later.
- Digital only: no delivery is set up.
- Decide later: shipping stays empty until you set it up.
To use a courier such as GLS or Foxpost, install its app once the store is ready. See the App Store and Delivery.
Name your store
Enter the Store name.
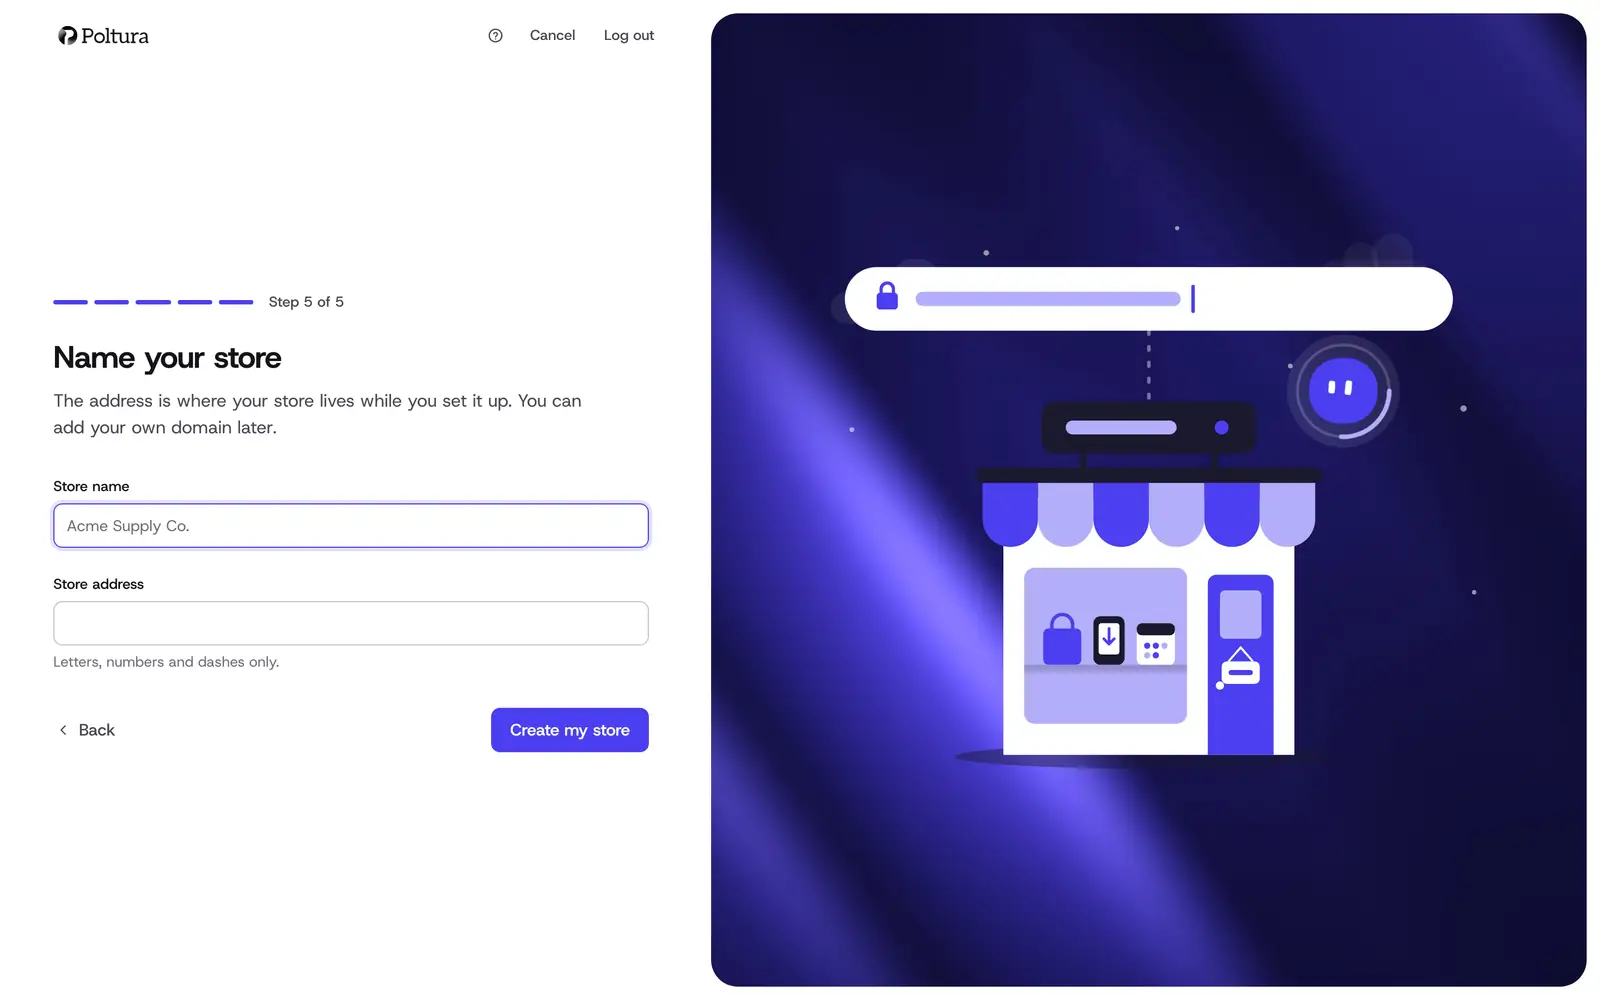
Check the Store address. This is the web address your store lives at while you set it up. Use letters, numbers and dashes only.
Wait for the check under the field. It says whether the address is available. If it is taken, select the suggested address or type another one.
Select Create my store.
The screen Building your store shows the progress. This usually takes less than a minute. You can connect your own domain later under Domains.
Finish and open your dashboard
When the store is ready you are signed in to it automatically. A short screen applies your answers, then Go to your dashboard takes you to Home, where the setup guide is waiting.
If you are moving from another platform, you can choose Start your migration to go straight to the import, View your store to see the storefront, or Skip for now.
Good to know
- Every answer can be changed later in Settings. The wizard only gives you a sensible starting point.
- If you run the wizard for a store that already exists, Skip for now closes it. A bar at the top of the admin then offers Answer the setup questions until you do.
- A new store is private. Visitors see a Coming soon page until you go live.
- An organization can hold a limited number of stores, and only a few can be created per hour.
If something goes wrong
- The address was taken while you were setting up. Someone claimed it in the meantime. Choose Choose another address and pick a new one.
- "Your store could not be set up" or "This is taking longer than expected". Select Try again. If it keeps failing, contact Poltura support.
- "This organisation already has its maximum number of stores." Delete a store you no longer need (see Store details) or contact Poltura support.
- "Too many stores created in the last hour." Wait and try again later.
- "Your store is up, but we could not sign you into it yet." Wait a moment and select Try again.