These tools work on every page of the admin. Most of them live in the top bar or in the menu behind your avatar in the top right corner.
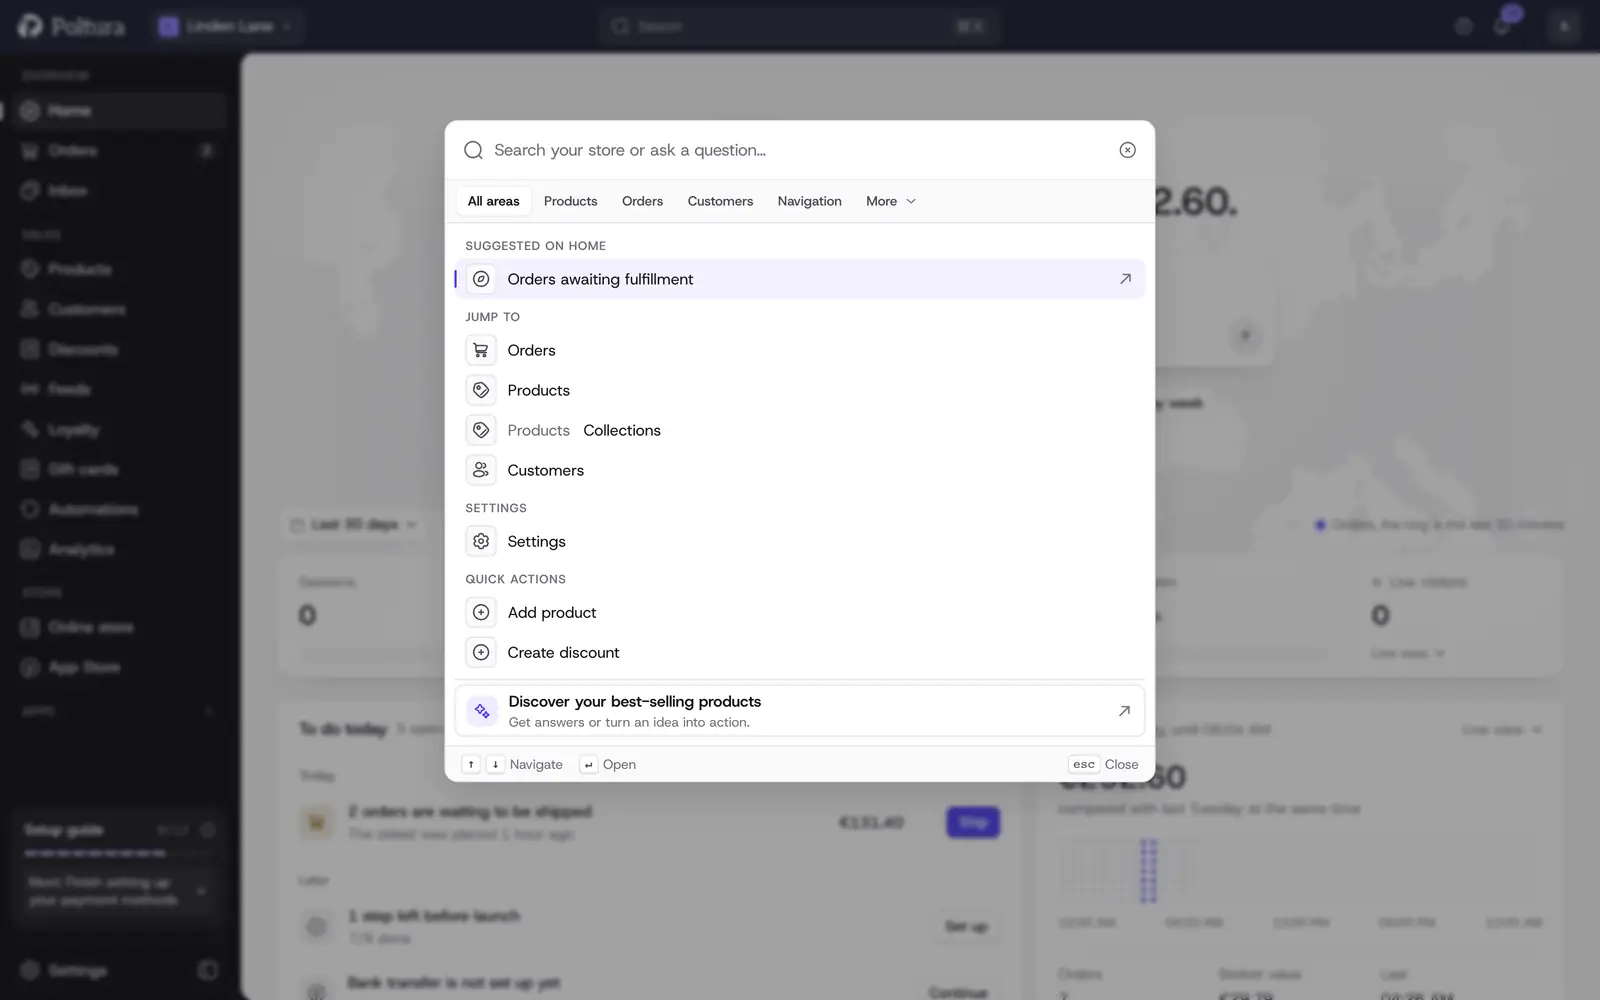
Search the whole store
Select Search in the top bar, or press
⌘Kon a Mac orCtrl+Kon Windows.Type a product name, an order number, a customer email or the name of a page.
Narrow the results with the area chips, for example Orders, Products or Customers. All areas shows everything again.
Move with the arrow keys and press
Enterto open a result.
Search covers orders, products and their versions, customers, segments, collections, categories, inventory, discounts, settings pages and the pages of your apps. Pages you have hidden from your sidebar still appear here.
If the assistant is switched on, the first row offers Ask assistant about "…". It hands your text to Klea as a question.
Use keyboard shortcuts
Press the keys one after the other, not together. Shortcuts do not fire while you are typing in a field or while a dialog is open.
| Keys | Opens |
|---|---|
G then O | Orders |
G then P | Products |
G then C | Collections |
G then A | Categories |
G then U | Customers |
G then G | Segments |
G then I | Inventory |
G then , | Settings |
G then , then S | Store details |
G then , then U | People & roles |
G then , then P | Product types |
B then Y then E | Log out |
Two more shortcuts use a modifier key: ⌘K or Ctrl+K opens search, and ⌘J or Ctrl+J opens and closes the assistant panel.
In spreadsheet-style editors, the Shortcuts button lists the keys for that grid, such as undo, copy, paste and moving between cells.
Save a list view
A saved view remembers the search text, filters, sorting and columns of a list. Saved views are available on the Orders, Products, Customers, Segments, Collections and Categories lists.
Open the list and set it up the way you want: search, filter, sort and choose columns.
Select Save in the list toolbar. The button appears as soon as the list differs from the current view.
Choose Save as new view.
Enter a View Name and save.
The view now appears as a badge above the list, next to Default. Select a badge to switch views. To change a view, select it, adjust the list, then choose Save and Update with the view's name. To remove one, open the menu beside its badge and choose Delete.
Switch between light and dark
Select your avatar in the top right corner.
Open Theme.
Choose System, Light or Dark.
The admin changes at once. System follows your computer's setting. The choice is remembered in this browser and affects only you. To arrange your own sidebar, see Sidebar.
Take the guided tour
The first time you open a store, a card titled Welcome to your store offers a short tour of the admin in four chapters: Orientation, Set up, Catalogue and Operate.
Select Start the tour, or Skip for now to leave it for later.
Read each step and select Next. Back returns to the previous step. Some steps have a button that starts the task they describe.
On the last step, select Finish. The closing card offers Open the setup guide and Add your first product.
If you walk away from a step, the tour waits: a small bar says Tour paused with Resume and End tour. To watch the tour again at any time, select your avatar and choose Show tour.
Switch store
Select the store name in the top bar.
Under Stores, choose the store you want. Its web address is shown under its name.
The page reloads in that store.
Create a store in the same menu starts the wizard described in Create your store. A store that is still being set up cannot be selected yet. On a phone the store list is in the avatar menu, under Switch store. If you belong to more than one organization, the avatar menu also offers Switch organization.
Change the admin language
Select your avatar.
Open Language.
Choose a language. The page reloads in it.
The admin is complete in English and Hungarian. Other languages in the list are only partly translated and show English for the rest. This setting changes only what you see. The languages of your storefront are set under Store details.
Turn developer mode on or off
Developer mode shows the technical screens: API keys, workflows and raw data.
Open Settings and choose Profile.
In the Developer section, turn on the Developer mode switch.
The sidebar and Settings now show extra pages, including a Developer group in Settings. Switch it off the same way. See Developer mode for what each page does.
Good to know
- The theme, the language and developer mode are remembered per browser. On another computer you set them again.
- The bell in the top bar collects new inbox messages, billing notices and store activity. See Notifications and alerts.
- Profile settings and Store settings in the avatar menu open Your profile and Store details.